Let’s get straight into it. Blade geometry.
This post will be discussing bevel angles, tool setup and overall design. Specially the Inshave. It goes by many names. The classic “curved drawknife”, “loop knife” but more commonly known as the latter. The Inshave.
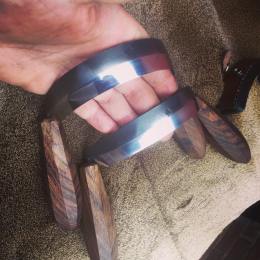
We shall start with a little talk about constitution and concept. It’s predominant design is to remove material in a crooked fashion, similar to that of a drawknife, but hollowed in outcome. Not unlike the drawknife, this tool enables its user to complete long concave cuts using the hands in their natural position in a pulling manner. Inshaves like drawknives are almost used along with its twin the clamp. Traditionally the clamp used for hollowing chair bottoms to fit is a flat surfaced, pegboard affair. When used with hardwood pegs and wedges. This allows the maker to securely hold a wide flat piece of hardwood ready for use with specific tool within the same designation.
Many have developed this design to accommodate bowl carving and general larger scale treen woodworking. As discussed in a previous post, handle angle, style and blade curvature were considered . Remember the 30° rule of thumb? This tool reeks of it. A memorable baseline to focus your efforts when carving dry hardwoods. As chair bottoms often are. Like most hollowing tools, they require a extra specific formula to enable them to cut and escape out of form and design needs. A short and steep secondary bevel on the inside, coupled with large, slight convex on the outer main edge, reduces the friction and chatter when “scooping” out.
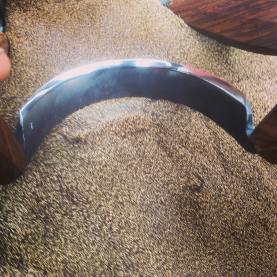
Every angle makes the difference. Maintenance wise, for accessible and positive results, keep the overall edge geometry with regular stropping inside and out. This is the no1 blade maintenance tip. Strop before, during and after use.
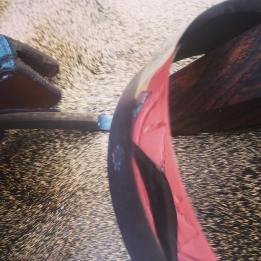
Click through the images below.


 Find me on Social Media